I have shared many rooms in our home over the past couple years on my blog but have never shown the kitchen. It is attached to the dining room.......
Which I love........
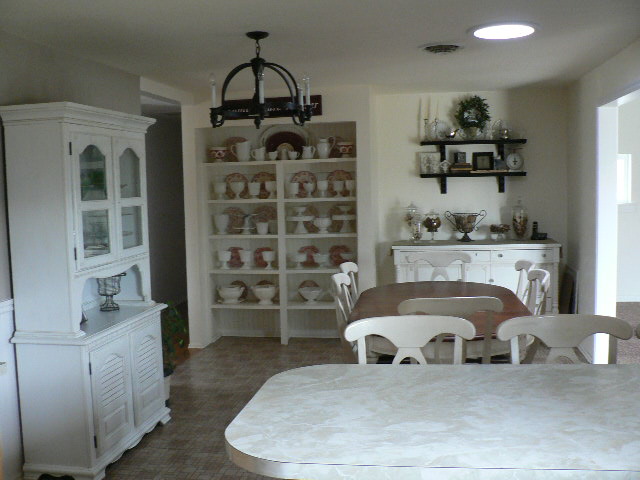

There is a reason I have never shown you what's on the other end of the dining room.
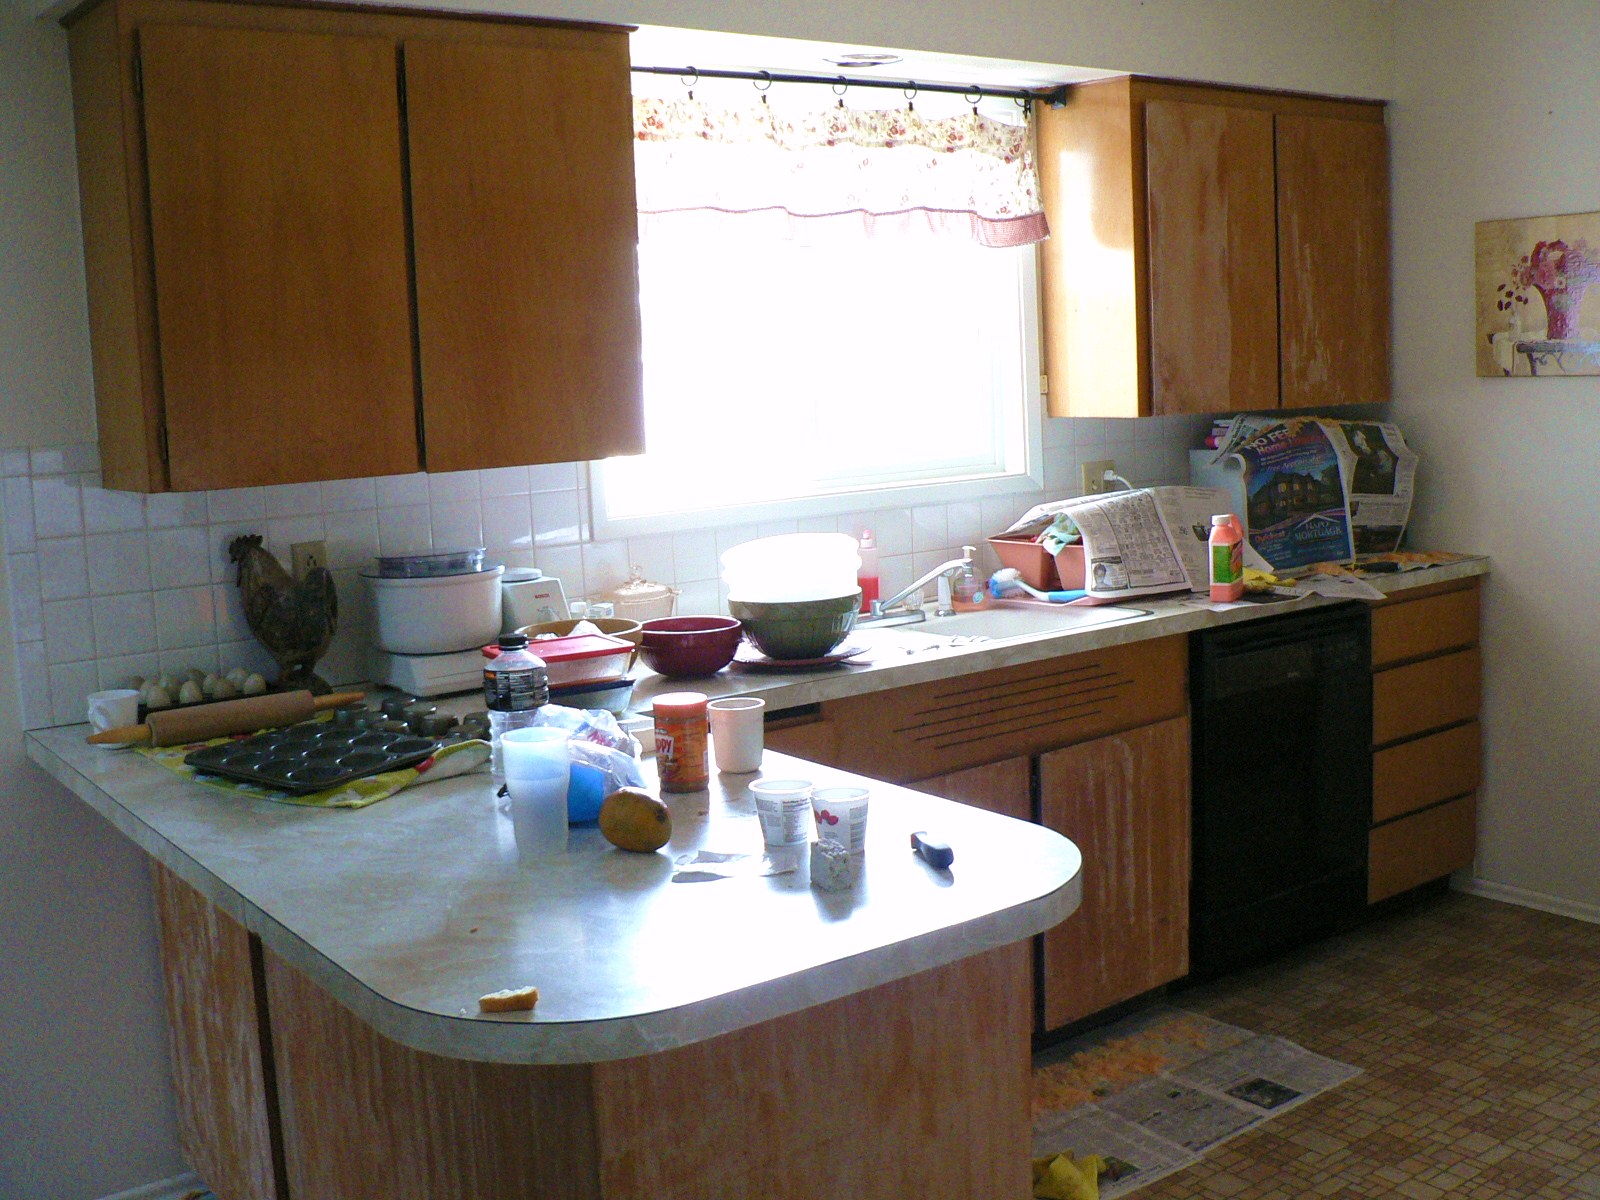
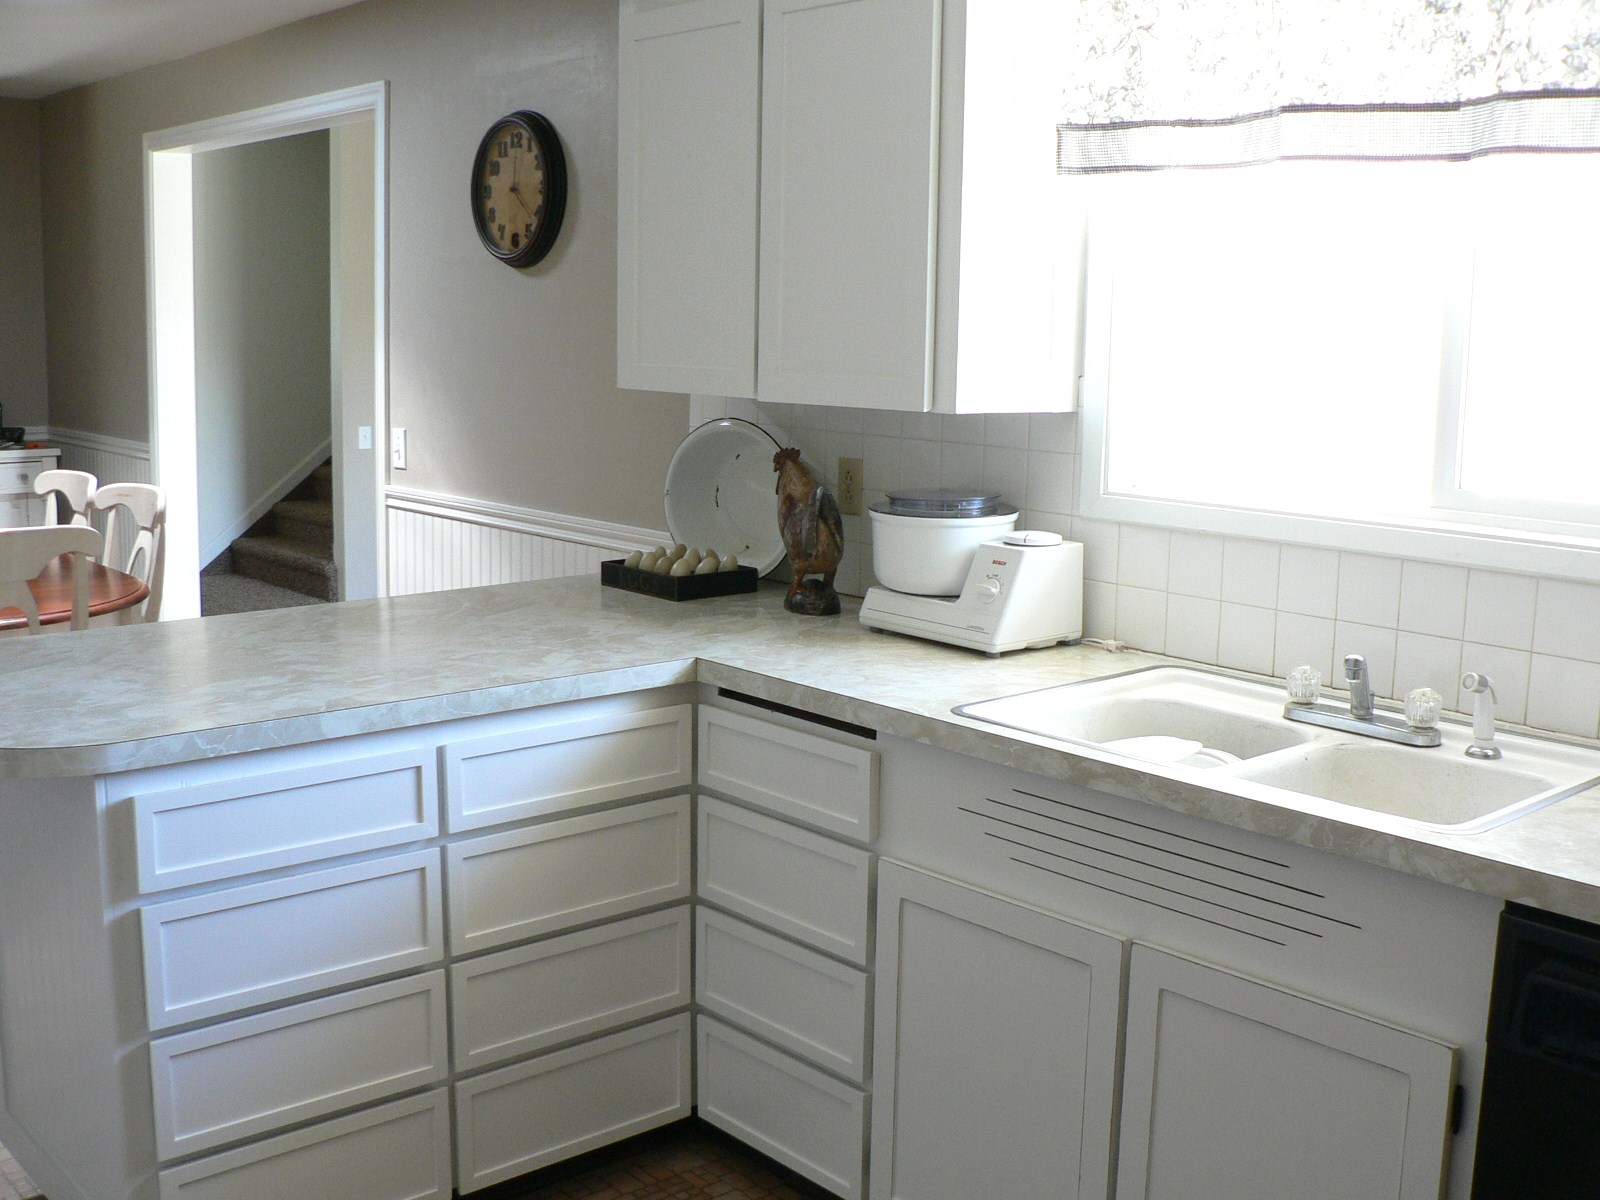
We have lived in our home for nine years.This summer my goal was to attack those orangish worn cabinets and bring the kitchen up-to-date. The hood above the range was avocado green. It's just a dingy out-dated kitchen. I had to do it on practically no budget. I spent less than $200 on everything.
So here goes.


The finish on the lower cabinets was very worn.

Two and a half weeks ago I started the tedious task of stripping the thick orange top coat. I had heard good things about Cirta Stripping Gel and it didn't disappoint. I'd brush it on and within 20 seconds it would bubble. This stuff saved so much work.


Then everything was sanded smooth. What a dusty mess this was. The entire kitchen was covered in a thick covering of dust.

I added trim to all 15 cabinet doors and 19 drawers. These were sheets of some kind of pressboard my dad and I cut into strips. I glued and shot 3/4 inch nails in with my gun. Some of the doors were not square. I'd cut a piece of trim for one side and fit it to the other side to see if it matched. Some of them were off by 1/4 inch in length.


The drawers after being stripped.....

....and after being sanded and trim added.
Then came the task of adding wood filler to the nail holes and mitered corners (because they weren't square). Then I sanded them again.

I had 3 inch mdf board strips left over from the board and batten treatment I did on the living room walls last summer. I used those to make frames around the bar and the ends of the cabinets. Then I added beadboard inside of those. I wouldn't have needed to strip the bar and cabinet ends but I was unsure at the time exactly what I was going to do. Oh well, I'm sure the glue stuck better than it would have to the glossy finish it had (I also nailed it). I had to caulk around the inside of the trim where the beadboard and trim meet. Again, I had to fill the nail holes and mitered corners, then sand.

I primed everything with Kilz oil-based primer. I wanted to lock in the orange stain and have better durability. The only disadvantage is that I had to clean my brush each day with paint thinner. I also learned the second day to wear gloves. It does not come off skin very well.

After priming I gave everything a light sanding.

After priming came the easy part. I sprayed the doors and drawers. It went quickly but took several days since I didn't do them all in one day and had to spray both sides. I got impatient waiting a day for one side to dry so I could flip it over and spray the other side. I hung a couple cabinet doors and decided it was too much white. I wanted the trim to pop so I lightly sanded the edges of the trim to make it stand out. Then I gave everything two coats of matte polycrylic to seal it.

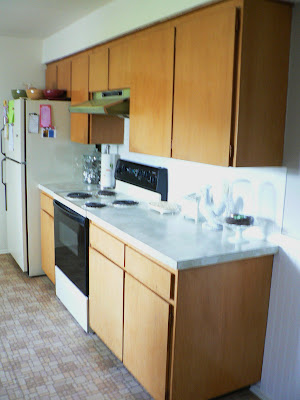
Here's one more look at the BEFORE


I have about a half days work touching up paint and such. I still need to refinish the door, change the outlets to white, and install a new kitchen light fixture. It has been an exhausting almost three weeks but I couldn't be happier with the results. It is just as I had imagined.
I'm linking up with Strut Your Stuff Thursday, Transformation Thursday, Open House Thursday, Furniture Feature Friday, Frugal Friday, Show and Share Day, and Feature Friday.


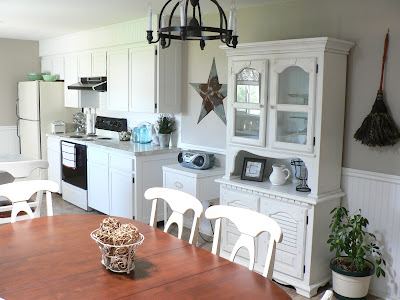
And the AFTER
It's so bright and cheery

I did 95% of the work on this redo. My husband made over the oven hood. He sprayed it down with degreaser and scrubed it. Then took it to the car wash and pressure washed it before spraying it black.

I have plans for the door. I am going to add some decorative moulding and paint and distress it. It's like the elephant in the room but I couldn't wait to share pics.


I also added beadboard to the kitchen and dining room walls and painted the upper portion a tan / gray color.


I made three beadboard panels with chunky moulding on the back side of the bar. The left panel is actually a cabinet door. It holds games.

There's an empty space where a cutting board used to be. It was gross and we threw it out when we moved in.


I found these three vintage moulding frames at a yard sale last summer for 50 cents each.

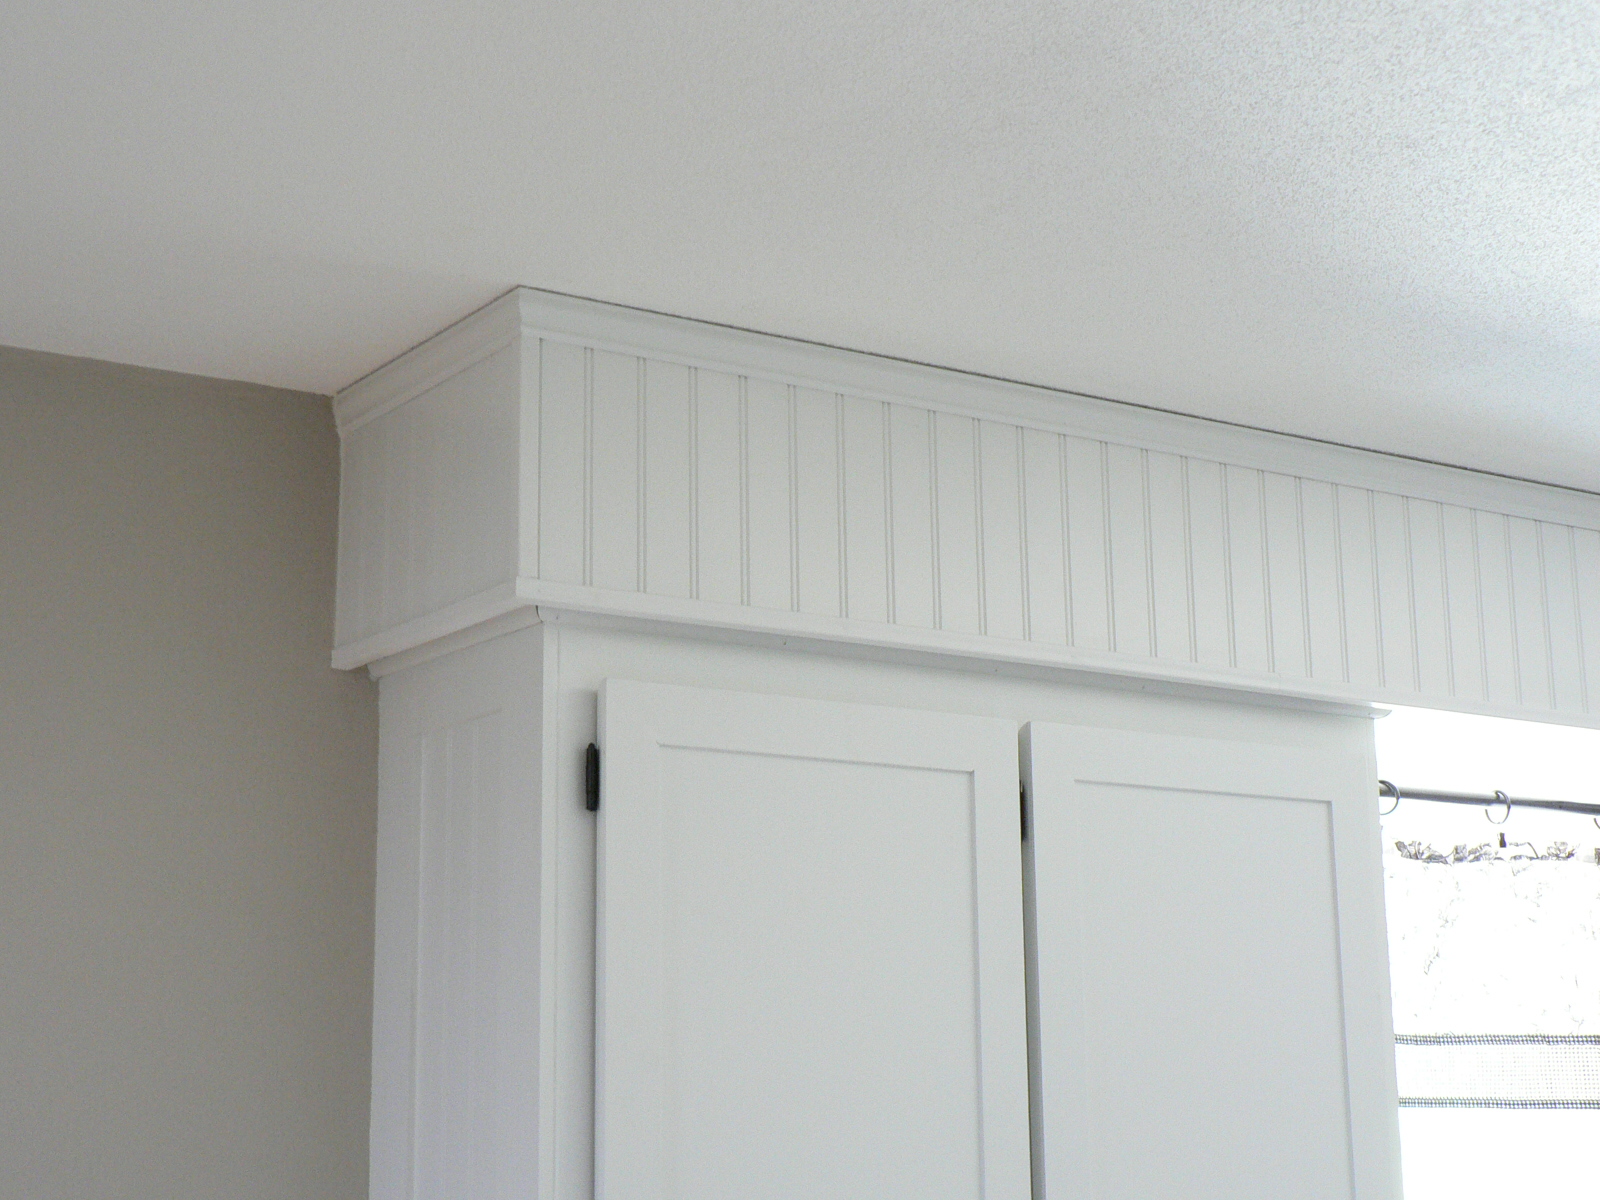
I used to hate the soffits until I added the beadboard and trim. Now they are one of my favorite parts of this make over.
I found the old enamel wash basin at Goodwill a few months back for $4.50.

It's hard to see with the sun but I picked up the black and white toile valance at a yard sale for $2.


The accesories were fun to come up with. I shopped the house for things I already had.


I love the ends of the cabinets. The beadboard and trim add so much to the once flat ends.


A view from the family room.


I scored 6 large metal stars at a yardsale last week for $3 for all. The blue rusty one is my favorite. The antique feather duster was at another yardsale for $2.

I have about a half days work touching up paint and such. I still need to refinish the door, change the outlets to white, and install a new kitchen light fixture. It has been an exhausting almost three weeks but I couldn't be happier with the results. It is just as I had imagined.
I'm linking up with Strut Your Stuff Thursday, Transformation Thursday, Open House Thursday, Furniture Feature Friday, Frugal Friday, Show and Share Day, and Feature Friday.


